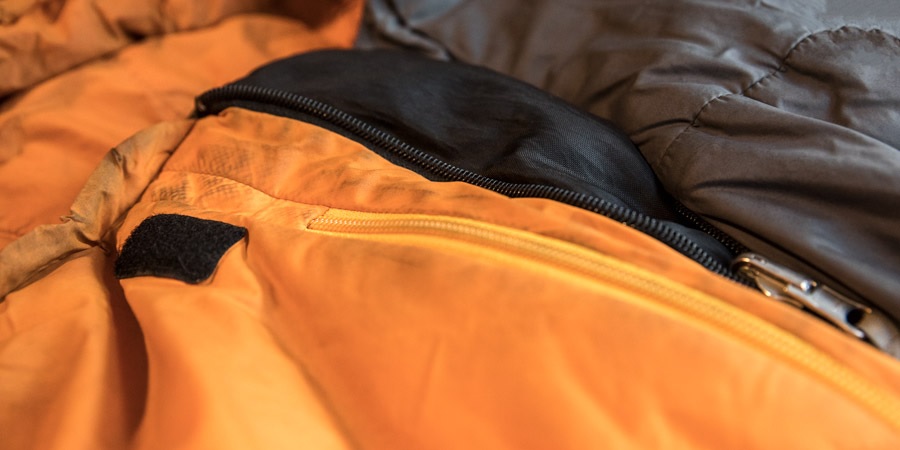
If your sleeping bag is darkened with grime or worse yet—losing its loft—then it’s time to give it a good washing. Even if it doesn’t look less lofty, the buildup of body oils and dirt over time will migrate into the fill (both down and synthetic) and begin to compromise your bag’s loft and warmth.
You don’t want to wash your bag obsessively (after every trip), but laundering it yearly is a good idea. You can wash it in a bathtub (very labor-intensive) or send it to a professional service like Rainy Pass Repair. Or you can DIY that sleeping-bag cleaning job using a commercial-size washer and dryer (at a laundromat).
Steps for Machine Washing Your Sleeping Bag
- Consult your bag maker’s instructions (on a label or online).
- Get the proper cleaning product (for down or synthetic fill).
- Use the gentle cycle and warm water (or cold, if required by the bag maker).
- Put it through a second rinse cycle to remove all the soap.
- Support the full bag (don’t grab just one end) when removing it from the washer. (This helps avoid straining and ripping the seams.)
- Gently squeeze out excess water.
- Place the bag in a commercial-size dryer on low heat. Expect a synthetic bag to take at least an hour; a down bag will take several hours.
- Add two or three clean tennis balls if it’s a down bag. (They help break up clumps of down to speed the drying process.)
- Run as many cycles as needed to dry the bag.
Spot Cleaning Your Bag
Because the interior lining at your bag’s head and foot areas tends to get extra dirty, you should consider spot cleaning those areas prior to washing the entire bag. (And sometimes all your bag needs is a little TLC, not a full-blown bath.) The spot cleaning process is simple:
- Apply a small amount of mild soap (the same cleaner you’d use to wash the entire bag) to the spot you’re cleaning.
- Use a soft-bristle toothbrush to gently clean the shell.
- Rinse using a wet sponge.
Tip: Hold the shell or liner fabric away from the insulation so that you can wash and rinse the outer shell without getting the inner fill wet. If the fill does get wet, then give it plenty of time to dry before storing your bag.
Additional Bag-Cleaning Tips
- Fasteners: Loosen drawcords to avoid bunching up the fill; fasten hook-and-loop closures to prevent snagging during washing
- Agitator-free washing machine: Never wash a sleeping bag in a top-loading machine with an agitator, which can rip seams.
- Extra drying: To be sure your bag is thoroughly dry before placing it in its storage bag, lay it out or hang it up overnight.
- Never dry clean a bag: The industrial solvents used in dry cleaning are harsh, and will strip down’s natural oils (the oils help down retain its loft).
- Other cleaning products to avoid: Fabric softener, bleach or alternative-bleach products also compromise bag performance.
- Steps to keep your bag cleaner in camp: Prevent dirt buildup by using a bag liner, sleeping in clean clothes and airing out your bag to dry it whenever it gets damp. For a full list of bag-care tips, read Sleeping Bag Care.
Steps for Hand Washing a Sleeping Bag:
- Fill your bathtub with cool or warm water.
- Add the proper cleaning product for your down or synthetic bag; avoid using too much soap because it will be hard to rinse out.
- Lay the bag in the water and gently work in the soap throughout the entire bag.
- Rub together the most heavily soiled areas. Allow it to soak for up to one hour.
- Drain the tub and press out any remaining water.
- Fill the tub with cool or warm water to rinse and then work the soap out gently; let the bag sit for 15 minutes and drain.
- Press out any remaining water. Repeat the rinse process until all the soap is out.
- Gently squeeze out as much water as you can. Then, work your hands underneath and gather it all up in a ball in your arms to carry it to a dryer. (This helps avoid straining and ripping the seams.)
- If your home dryer is so small that the bag stays balled up after you place the bag inside of it, you’ll need to transport your wet bag to the laundromat.
- Use low heat and expect a synthetic bag to take at least an hour; a down bag takes several hours—add two or three clean tennis balls if you have a down bag.
- If you choose not to use a dryer for your bag, lay it flat on a clean surface in an area with low humidity and no direct sunlight; you can also hang the bag up. You may need to manually break up clumps of insulation as your bag dries.
Visit ODU’s Camping/Hiking section – https://www.odumagazine.com/topics/headlines/camping-hiking/

